Here are some instructions for a do-it-yourself birthday banner! Firstly, you need a paper cutter, a bunch of letter size cardstock, a ruler, a utility knife and cutting board, ribbon, and those little sticky things that people use for scrapbooking. ;)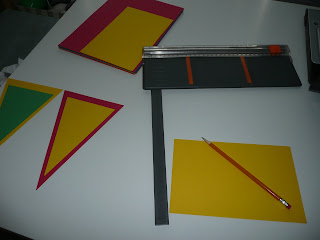 First off, you cut all of the paper in half width-wise. Then, using a ruler, find the center of the paper and mark it at one end, like so...
 Then you line up one corner and the center point on your paper cutter and make a perfect triangle shape...
 First off, you cut all of the paper in half width-wise. Then, using a ruler, find the center of the paper and mark it at one end, like so...
 Then you line up one corner and the center point on your paper cutter and make a perfect triangle shape...
 Once you've done this with all of the paper, you can mix and match and decide what paper will be layered with what. I'd advise that the smaller triangles be some sort of cute print, but I wasn't thinking straight at the paper store, so I made due...
I then cut off about 2 inches of the tops of all of my small triangle pieces.
 Then I used those little sticky scrapbooking squares I mentioned earlier to attach the pieces...
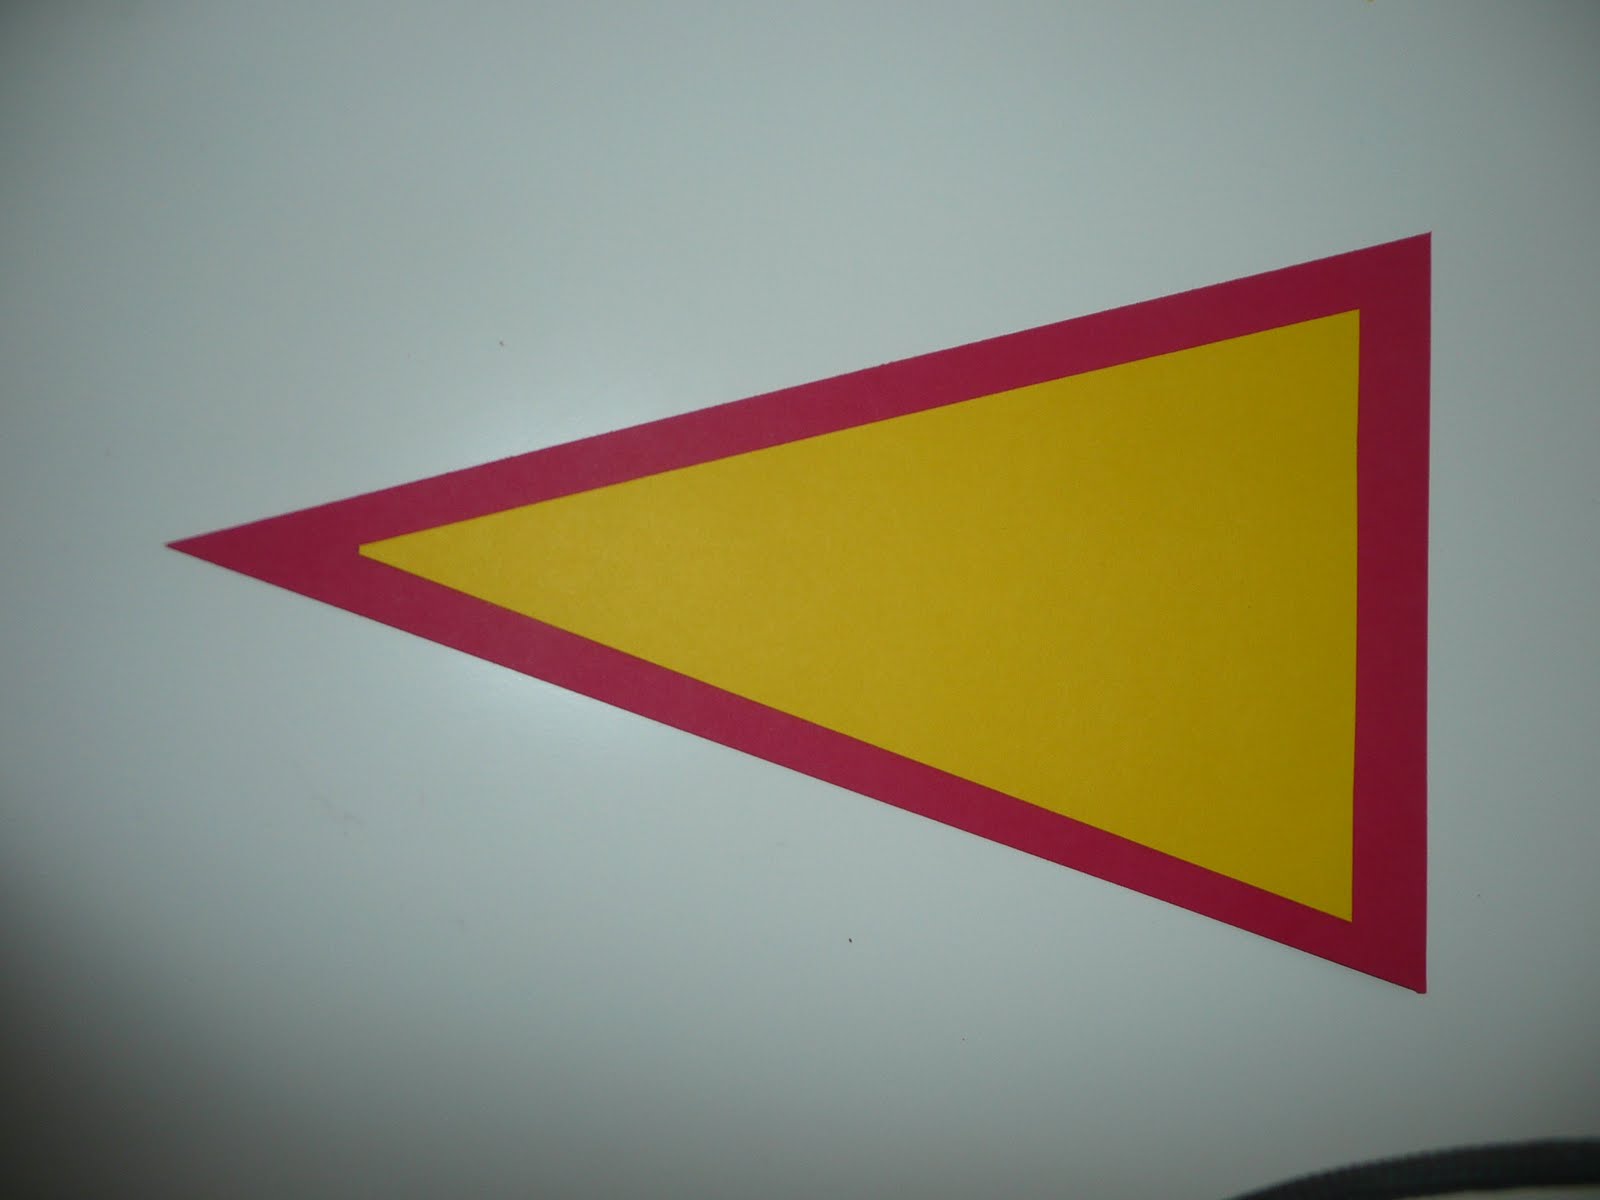
Next, you use that trusty utility knife (very carefully, of course) and cut a slit just a bit longer than the width of your ribbon. You may also want to score the back side of the paper just so it's easier to slide the ribbon through...

Then, slide the ribbon through like so. Keep in mind that you will want to decide at this step how you want your banner to look - one long banner or several smaller ones tied together like mine.
 When cutting the ends of the ribbon, I made sure I left it extra long since I wasn't sure how each one would hang on the wall. I then picked my favorite font and typed the message I wanted on the banner in Word and printed it. Then I just cut the letters out and, again, used my sticky scrapbooking squares to attach them like so...
 When hanging the banner, I laid it out on the table and tied all 3 strings together at one end and hung it on the wall. Then I messed with the letters and slid them around on the ribbon so they'd be positioned how I wanted them and then tied the other end.
Voila! There's my birthday banner tutorial!
Or birthday "bammer" as Hailey's been calling it... :)


7 comments:
I love it!! Sooo stink in cute! I'm totally using this idea next month for Ezra's bday! So you cute I can't see throwing it away!
Thx for sharing!
Nicole m.
LOVE IT! Happy birthday Owen! =)
Very Cool. Can't wait to celebrate him!
How cute! I love how creative you are. It's such a great quality to have as a Mom and someone who works with young kids. I wish I would have thought of ribbon when I was making Luke's. It was a disaster of tape and push pins :(
That is very cool! I love it. Well done.
Sooo cute and crafty!
SO cute! I'm making one for Harper's birthday too, I've had the supplies for awhile but I need a paper cutter and have been waiting for another Michael's ad to come in the mail for the 40% off coupon. Of course, we got them all the time and now that I need one I haven't seen one in weeks :-P I'll need to see if I can find one online!
I can't believe our kiddos are turning ONE this week!
Post a Comment